How To Make A Slanted Roof In Revit

Revit Roof Basics 10 Slope Arrow Cadclips Youtube

Revit Tutorials Roofs Youtube
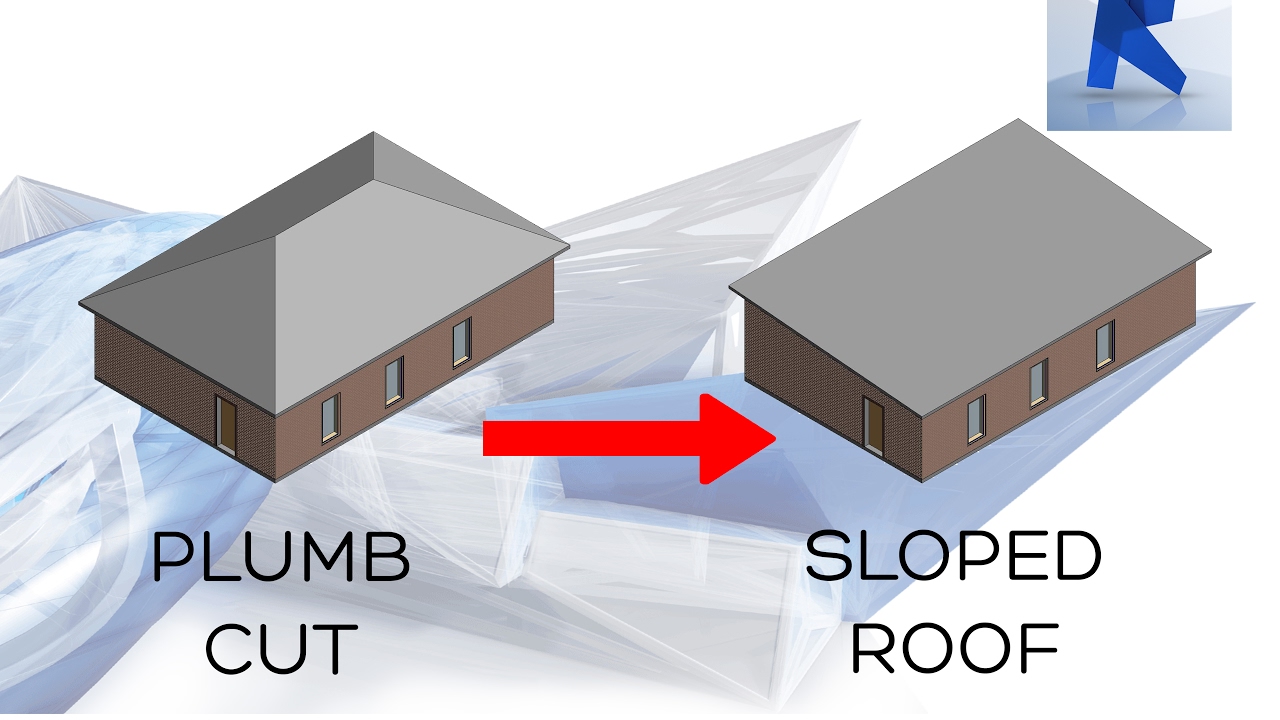
Revit 2017 Sloped Roof Create A Sloped Roof Easy Youtube

9 Tips To Understand Revit Roofs Revit Pure

Revit Sloped Beam System Cadclip Youtube

Sloped Wall In Revit Youtube
If slope is activated a triangle symbol will appear next to each boundary.
How to make a slanted roof in revit.

Revit Sloped Glazing Youtube

Revit Tips Creating Rafters With Beam System Youtube

Revit Create Slanted Walls The Easy Way Youtube

Solved Revit Sloping A Gable Roof Autodesk Community Revit Products

Revit Tutorials Skylights Youtube

Adding Dormer Window To A Sloping Roof Youtube

Revit Roof Basics 04 Intersect By Roof Join Cadclips Youtube

Revit 2019 Ceilings And Roofs Episode 3 Slope Arrow And Joining Roofs Youtube

Mansard Roof In Revit Architecture Youtube

Flat Roofs In Revit Tutorial Youtube
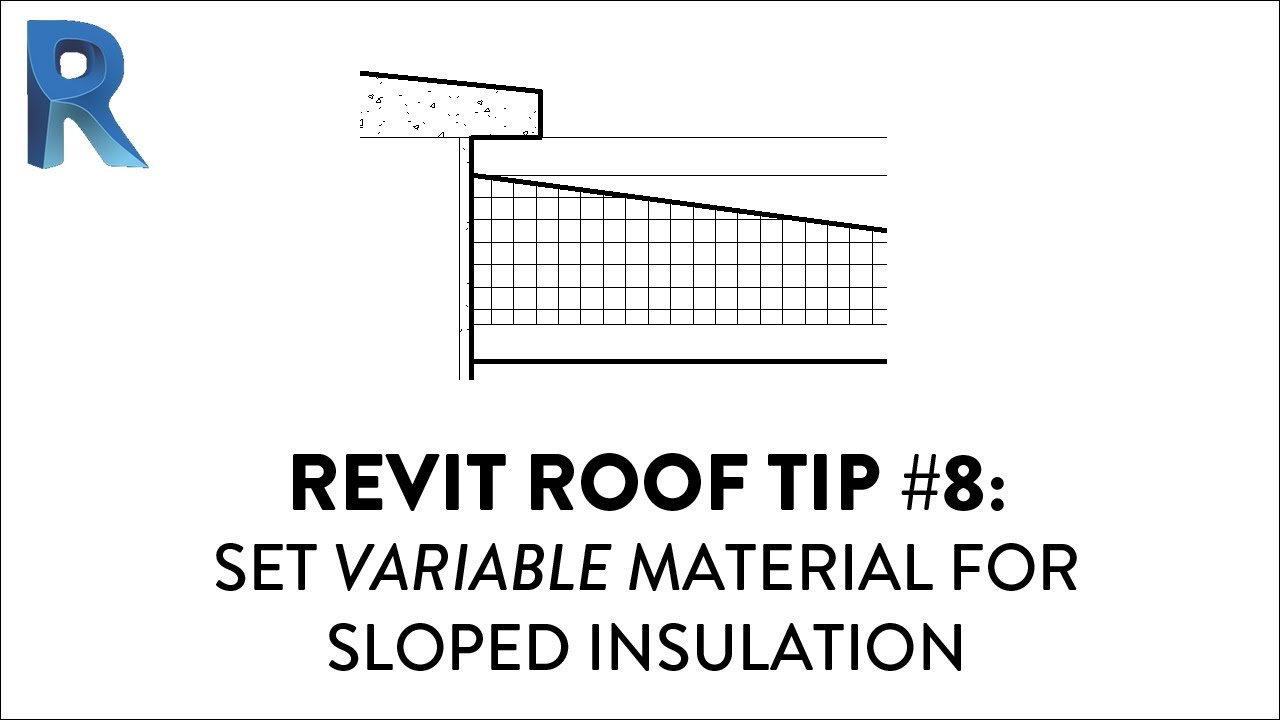
Revit Roof Tip 8 Set Variable Material For Sloped Insulation Youtube

3 Complex Roof Shapes In Revit Youtube
9 Tips To Understand Revit Roofs Youtube

Solved 2 Slopes Ceiling Autodesk Community Revit Products

Creating Sloped Beam In Revit Revit Lt Youtube

Revit Structure Sloped Flat Roof Cadclips Youtube

Revit Adding A Curtain Wall On A Floor Or Roof Cadtechseminars Com Youtube
Video Shape Editing Roof And Floor Slabs Revit Products 2019 Autodesk Knowledge Network
Https Encrypted Tbn0 Gstatic Com Images Q Tbn 3aand9gcqt Jag1pa Hofhz 59fqg8i0feamtfelr0xlmsrdq6chiqvxbg Usqp Cau

Solved Best Practice For Tapered Roof Or Floor Autodesk Community Revit Products

Create Roof Trusses With Purlins In Revit Youtube

Revit Roof Tip 2 Activate Slope To Create Sloped Roof Youtube

Revit Tutorial Pitched Roof With Central Courtyard Youtube

Solved Sloped Structural Framing Autodesk Community Revit Products
Source : pinterest.com
