How To Make A Flat Roof In Revit 2019

Revit Roof Tip 1 Remove Slope To Create Flat Roof Youtube

26 Using The Shape Editing Tools To Create A Flat Roof Revit Youtube

Flat Roofs In Revit Tutorial Youtube

Revit Tutorials Roofs Youtube

Revit Roof Basics 10 Slope Arrow Cadclips Youtube

Flat Roofs In Revit Are A Mystery To Many People Similar To A Lot Of Elements In Revit There Are Many Ways To Go Revit Tutorial Flat Roof Revit Architecture

If you d like to learn everything about revit roofs you may be interested in my revit roofs masterclass course.
How to make a flat roof in revit 2019.

Adding A Roof In Revit Youtube
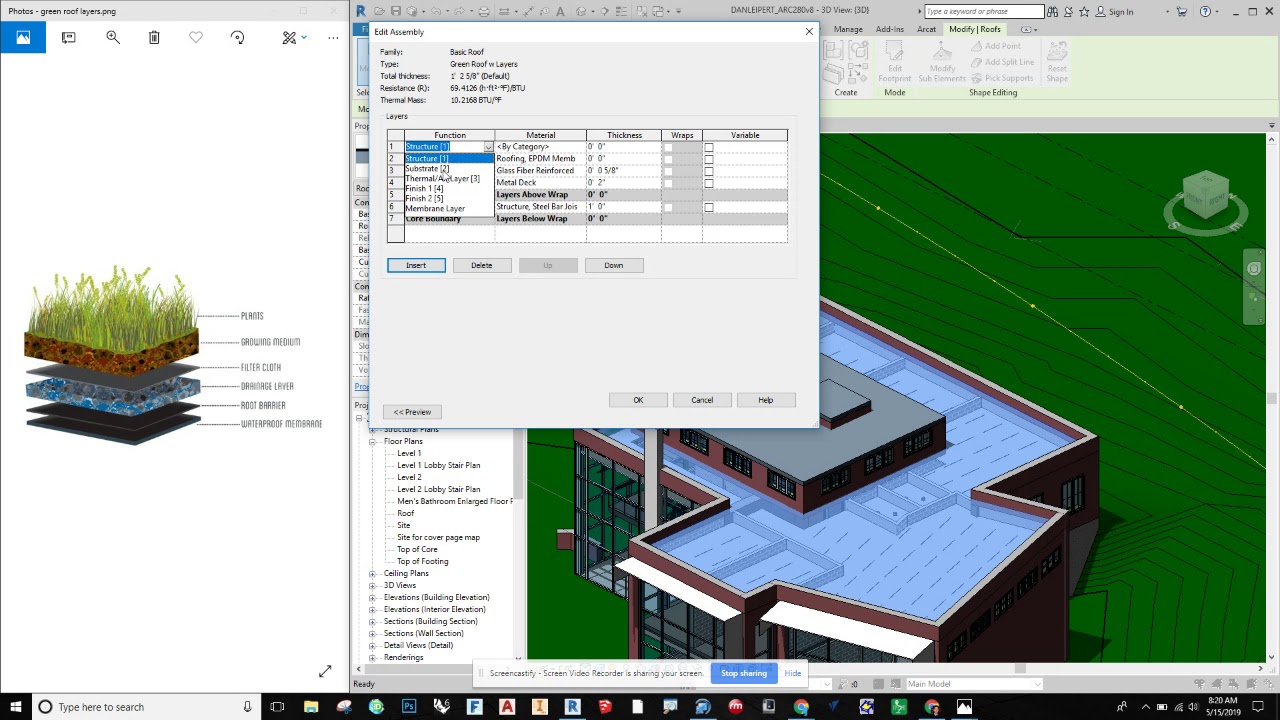
Revit How To Make A Green Roof With A Parapet Wall Youtube

40 Flat Roof Shape Editing Tools Revit 2020 For Architecture Essential Tutorial Arabic Youtube

Revit Adjust Drainage Slope Of Flat Roof Youtube

How To Add Crickets To A Flat Roof In Revit Youtube

Autodesk Revit Corrugated Sheeting Youtube

Revit Roof Sample File Revit Products 2019 Autodesk Knowledge Network

3 Complex Roof Shapes In Revit Youtube

Mansard Roof In Revit Architecture Youtube

Solved Roof Drains In Plan Autodesk Community Revit Products

Solved Why Can T I Make This Roof Autodesk Community Revit Products

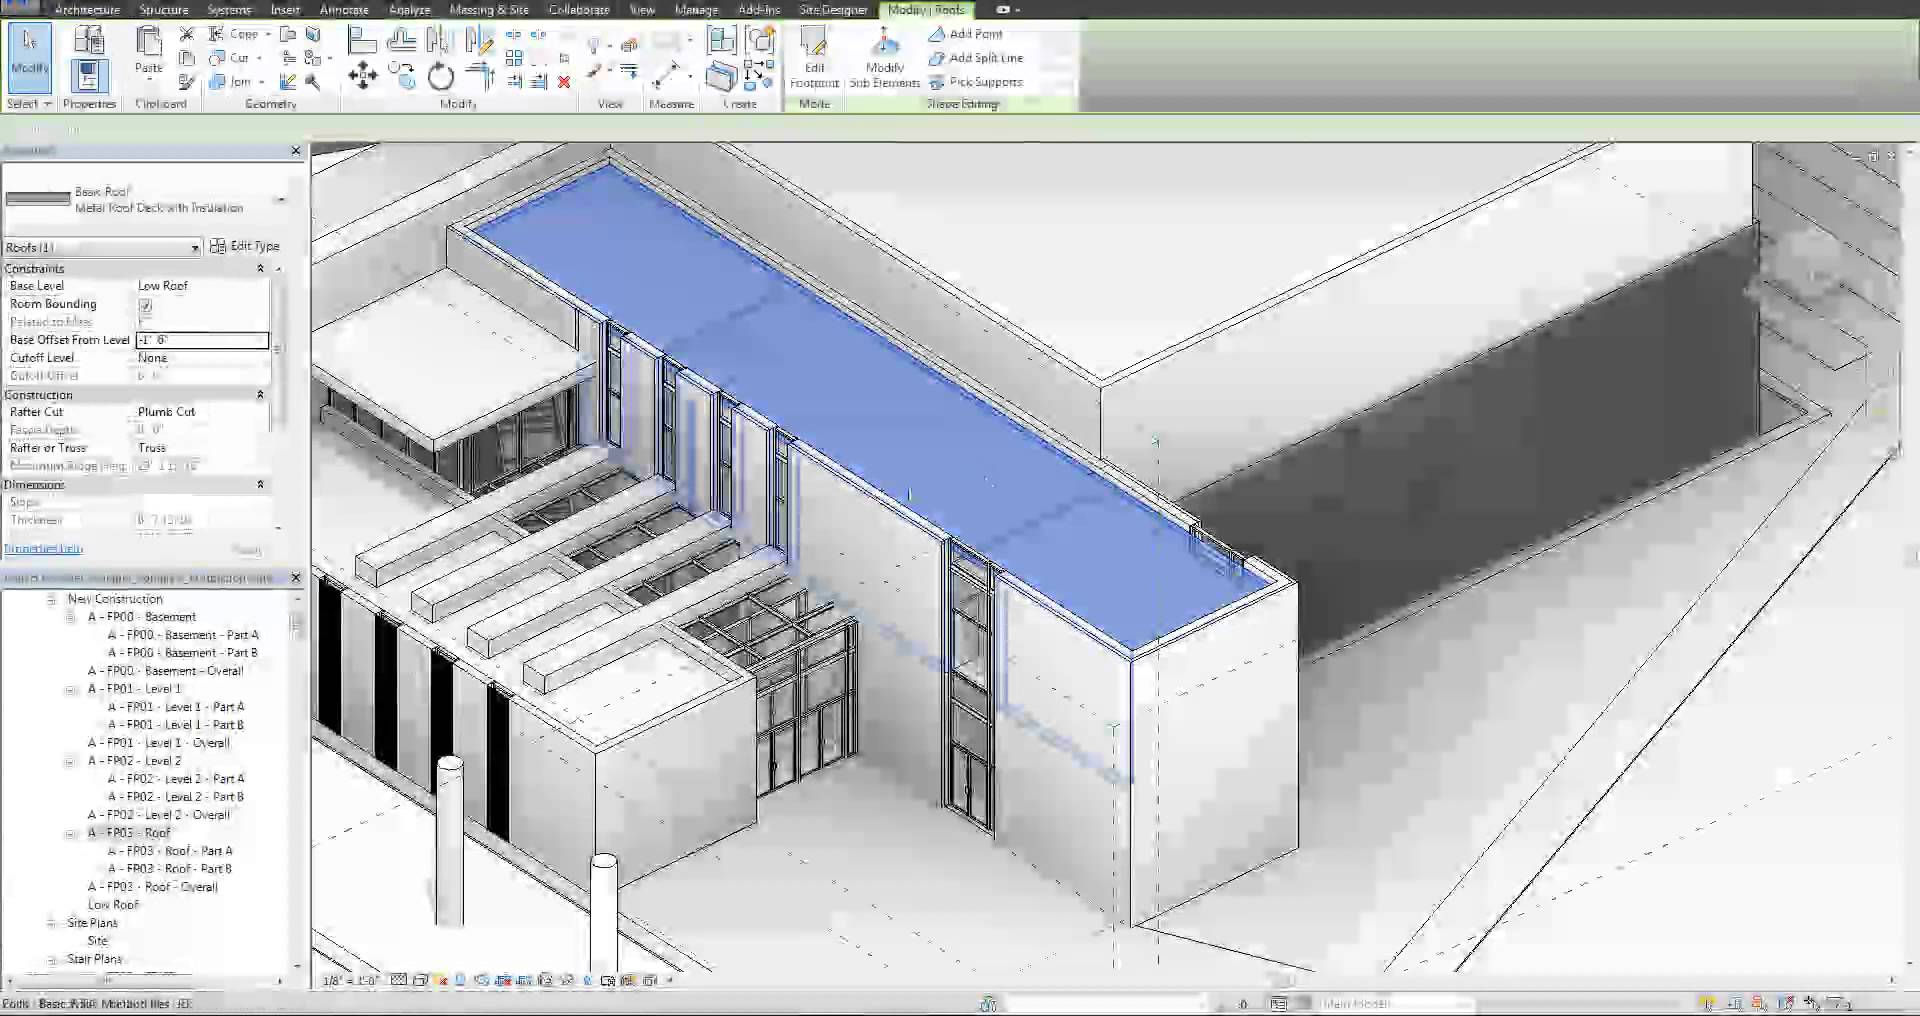
Part 5 Create A Roof Revit Lt 2020 Autodesk Knowledge Network
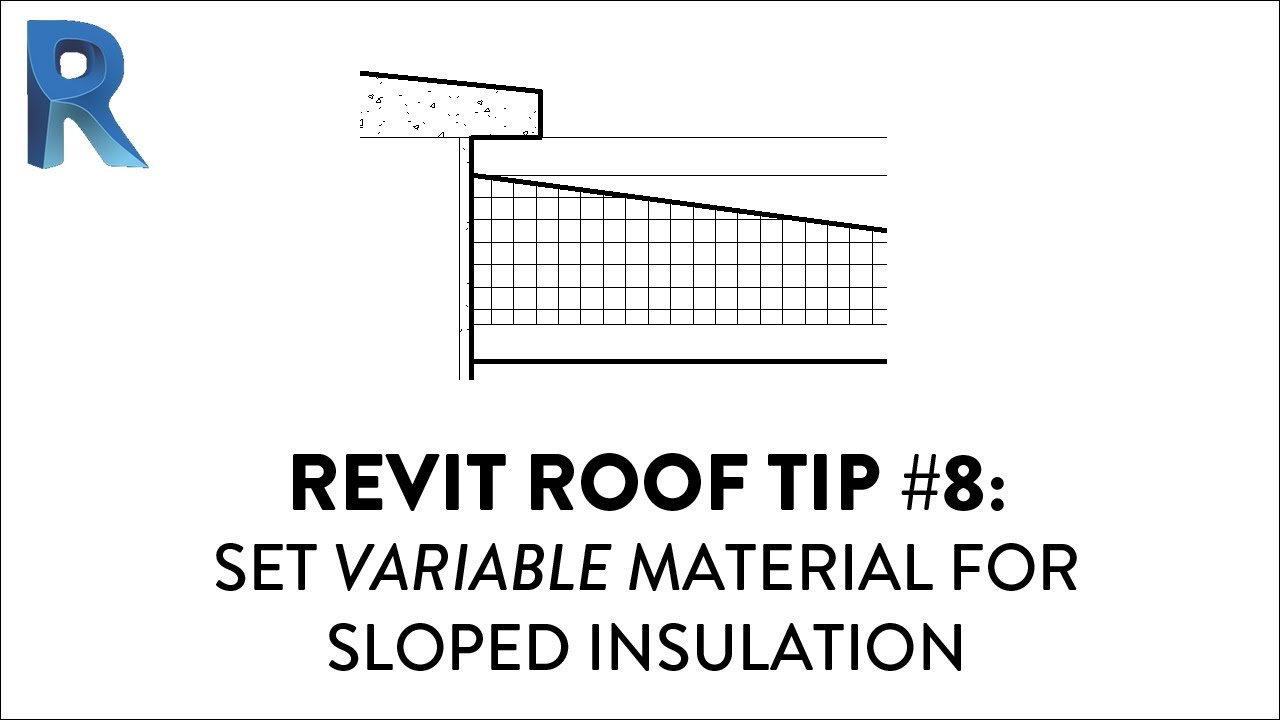
Revit Roof Tip 8 Set Variable Material For Sloped Insulation Youtube
Roof Slope Revit Products 2019 Autodesk Knowledge Network

Revit Roof Tip 2 Activate Slope To Create Sloped Roof Youtube

Revit Roof Tip 7 Use Shape Editing To Create Flat Roof Slope Youtube
Revit Tutorial Roof Crickets And Flat Roofs Revit News

Flat Roofs In Revit Are A Mystery To Many People Similar To A Lot Of Elements In Revit There Are Many Ways To Go About Flat Roof Repair Flat Roof Roof
Https Encrypted Tbn0 Gstatic Com Images Q Tbn 3aand9gcqt Jag1pa Hofhz 59fqg8i0feamtfelr0xlmsrdq6chiqvxbg Usqp Cau

About Editing Floor And Roof Shape Revit Products 2018 Autodesk Knowledge Network

Solved Roof Unable To Join Misses Target Autodesk Community Revit Products

Solved Best Practice For Tapered Roof Or Floor Autodesk Community Revit Products

Flat Roof And Parapet Sweep Youtube

Joining Base Of Roofs In A Point Help Autodesk Community Revit Products
Source : pinterest.com
