How To Install Vent Pipe Flashing On Existing Roof

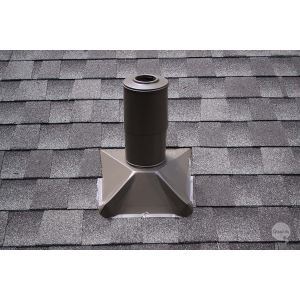
How To Install Vent Pipe Flashing On An Existing Roof Tools Materials

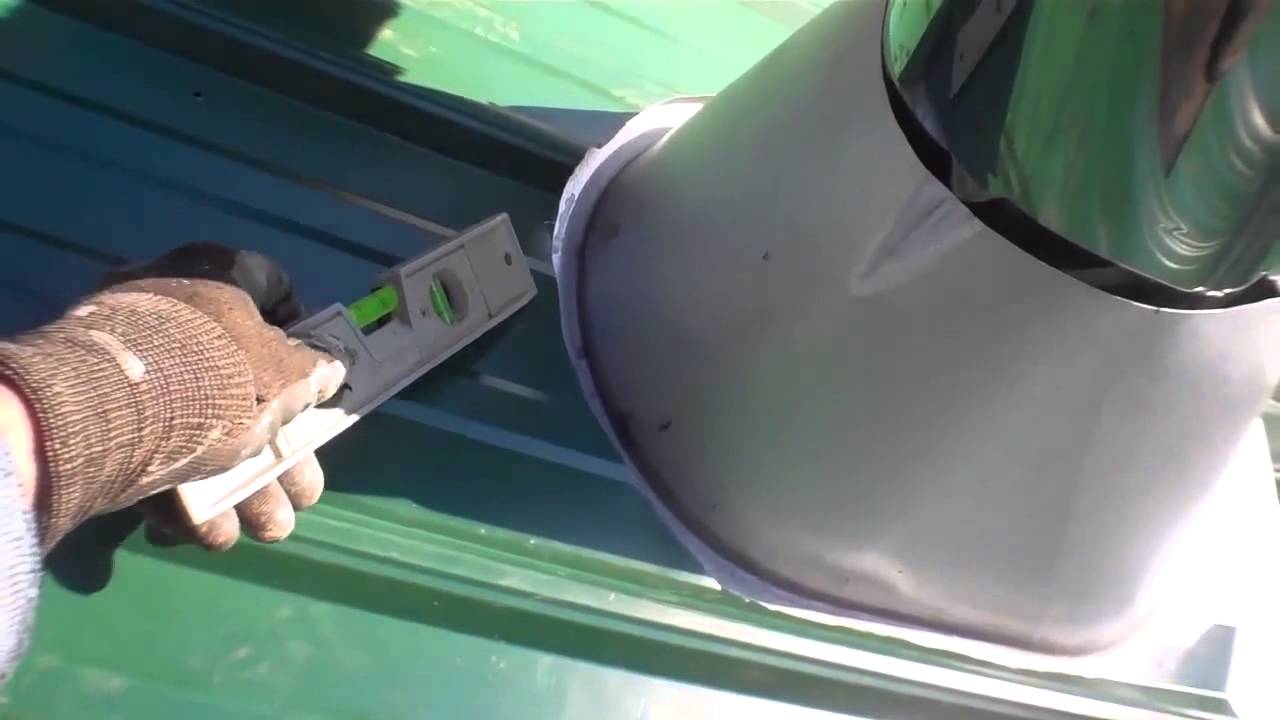
How To Install A Roof Vent Flashing For A Furnace Chimney Youtube

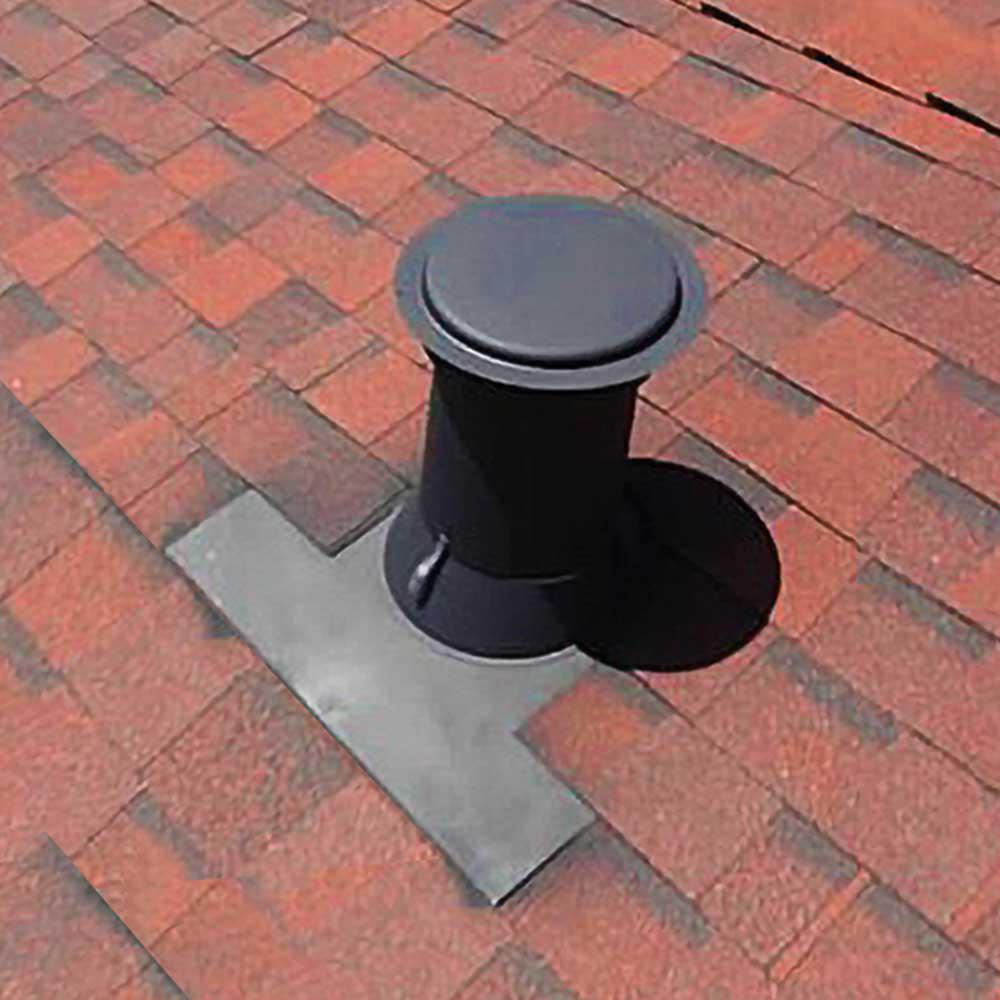
How To Retrofit An Ultimate Pipe Flashing On Existing Roof Youtube

New Vent Flashing On Existing Mineral Rolled Roof Roofing Siding Diy Home Improvement Diychatroom
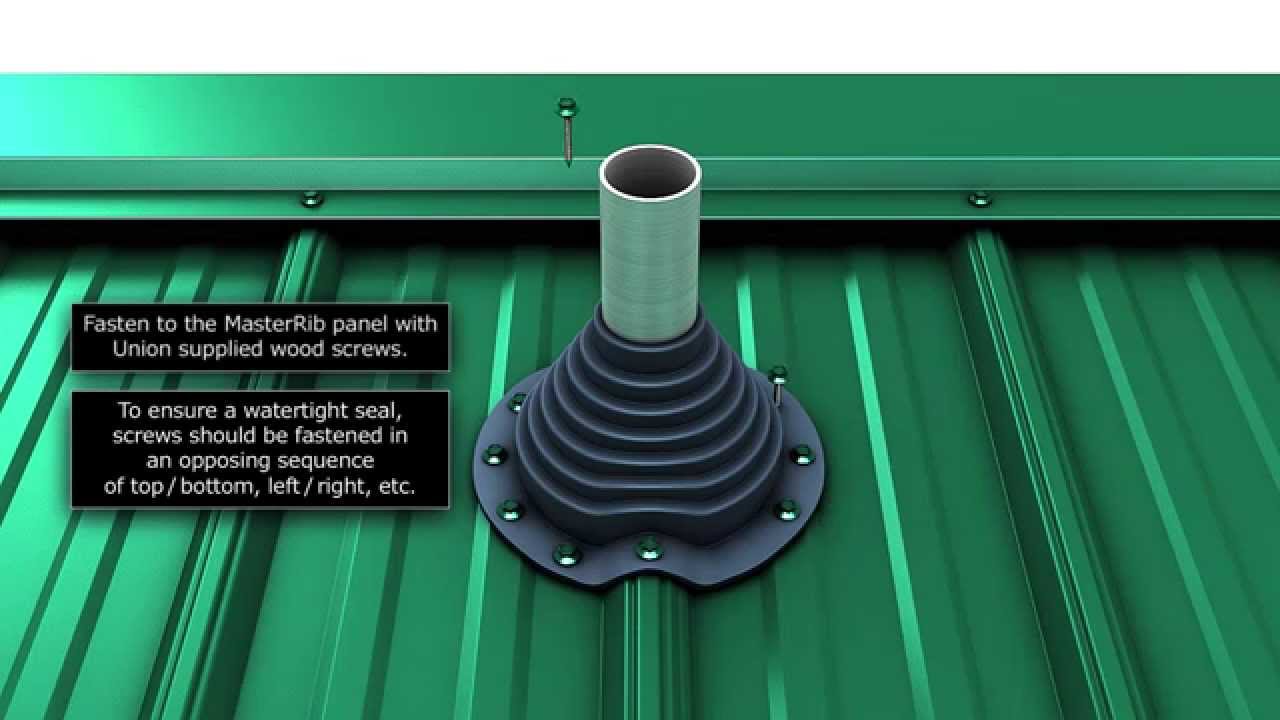
How To Install A Metal Roof Pipe Boot Youtube

How To Install A Pipe Boot On Your Roof Youtube

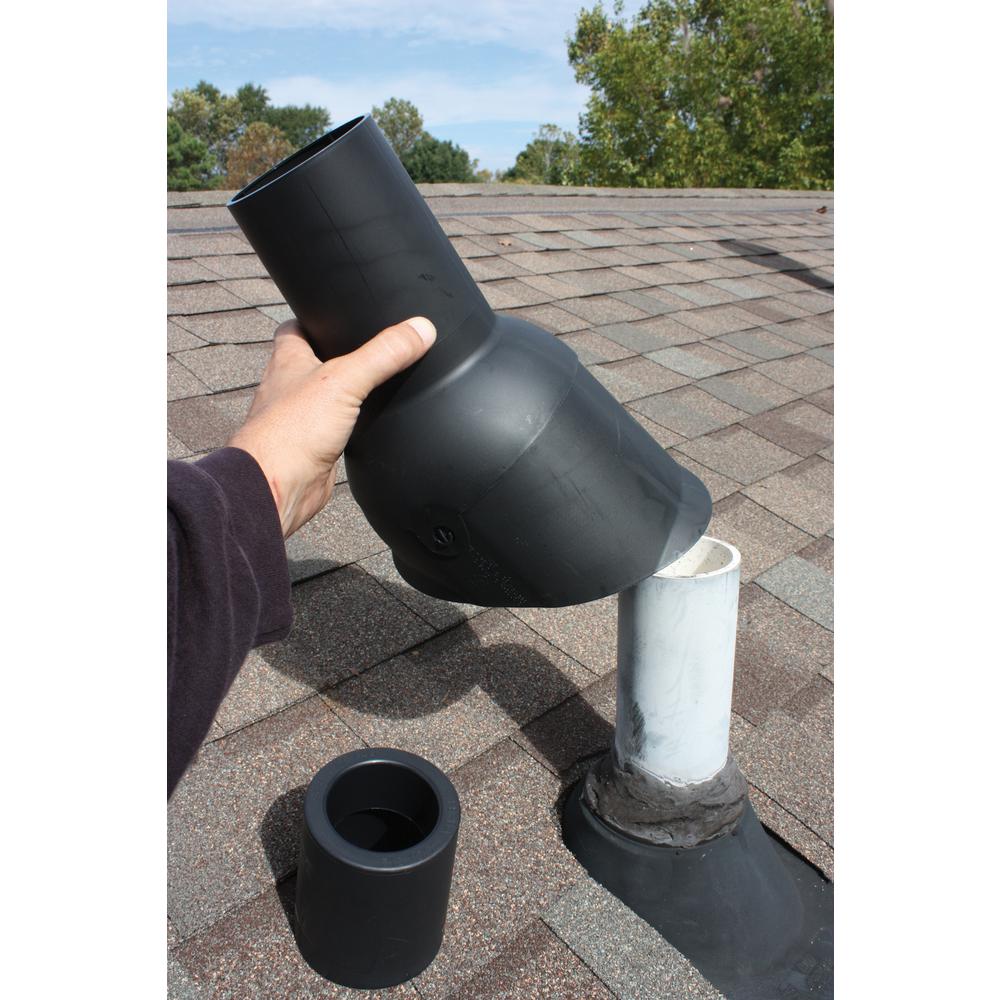
How to retrofit the ultimate pipe flashing on an existing roof.
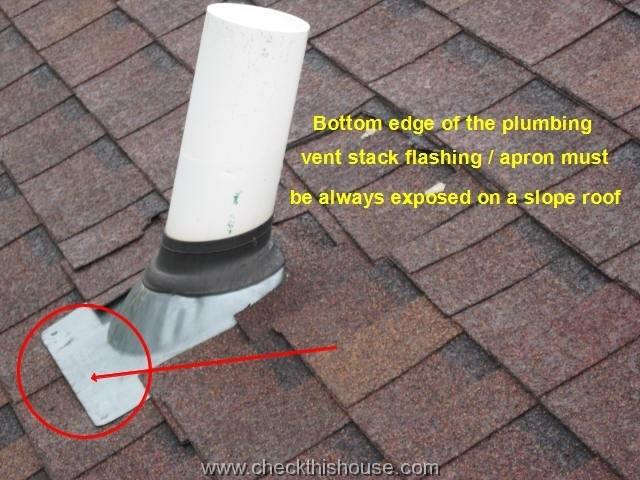
How to install vent pipe flashing on existing roof.

How To Install A Vent In Shingles Youtube

How To Install Flashing Around A Vent Pipe Roofpro Llc
Perma Boot Pipe Boot Repair For 2 In I D Vent Pipe Black Color Pbr 312 2bk The Home Depot
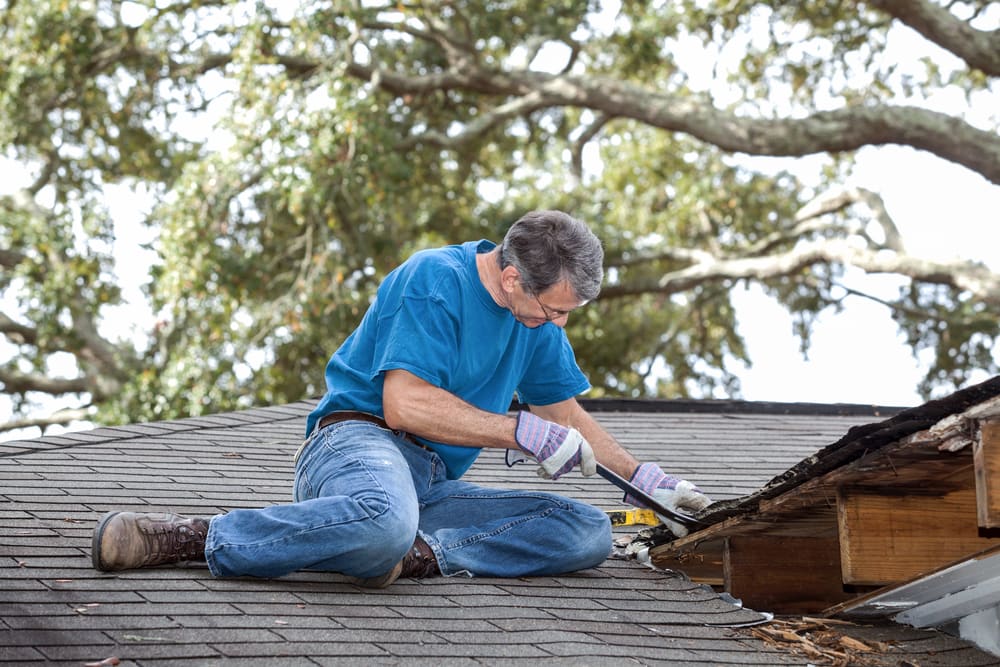
How To Install Flashing On An Existing Roof
Roof Repairs Leaky Roof Repair In Appleton Wi

Gibraltar Building Products 11 In X 13 75 In Rubber Electrical Mast Split Pipe Boot Roof Flashing In Black 81746 The Home Depot
Install Bifold Doors New Construction How To Install A Roof Vent On A New Roof
Obadiah S Redwood Hot Tub Installation Installing Metal Roof Flashing Youtube
Gibraltar Building Products 6 In Aluminum Code Cap Top Vent Pipe Flashing Cc6t The Home Depot

Pin On Front Porch

Pin On At Home
Pipe Boot Pipe Flashing Quarrix Building Products Sweets

Pin On My House Projects
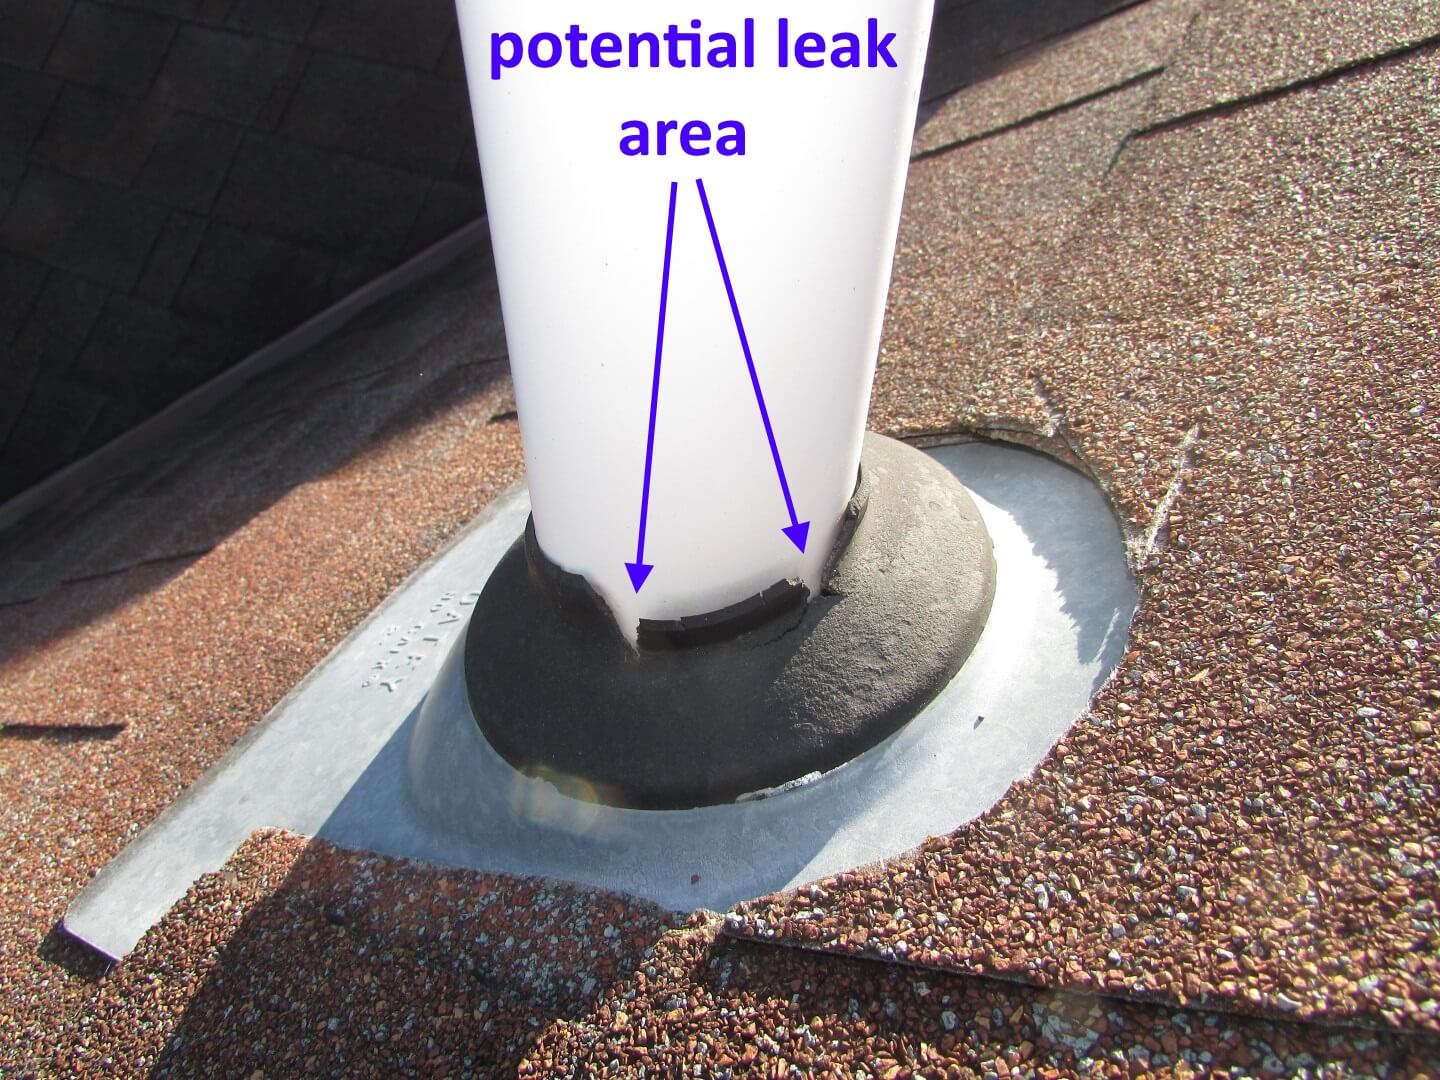
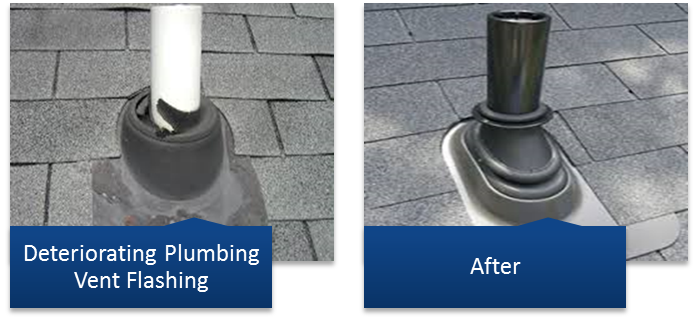
Easy Fix For Split Boots On Plumbing Vent Flashings Star Tribune

Pin On Fireplace Chimney

Standing Seam Metal Roofing Installation Diy Step By Step Guide
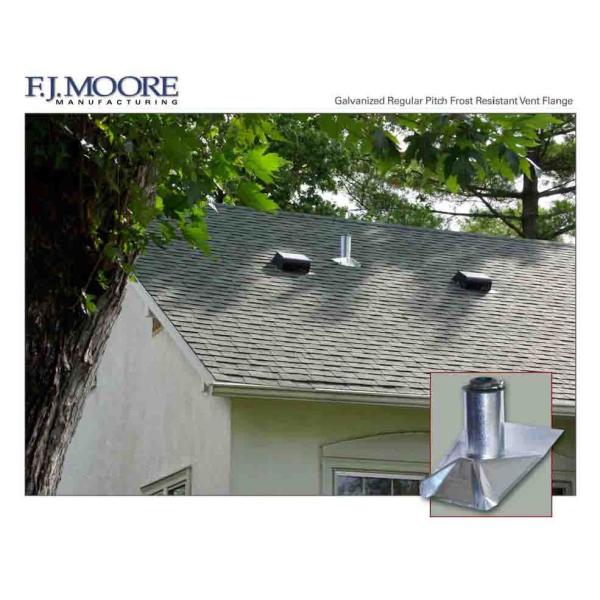
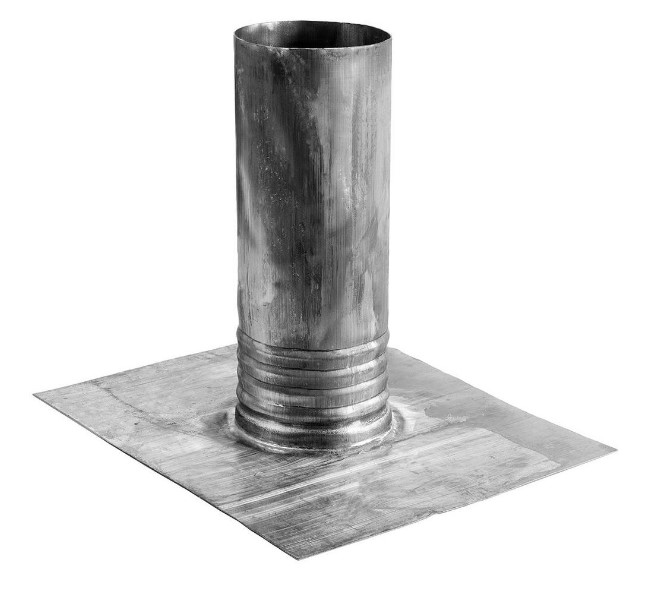
F J Moore 2 In Galvanized Steel Vent Pipe Flashing Standard Pitch 2 The Home Depot

Gibraltar Building Products 6 In Adjustable Pitch Galvanized Steel Pipe Flashing Jack6gz The Home Depot
Https Encrypted Tbn0 Gstatic Com Images Q Tbn 3aand9gcrj0fbruv9eno1cmafmzk0zryk6qarb Wzcvjmuawa5jlt65wf Usqp Cau

Pin On Metal Roof Diy

Clay Tile Roof Flashing Details

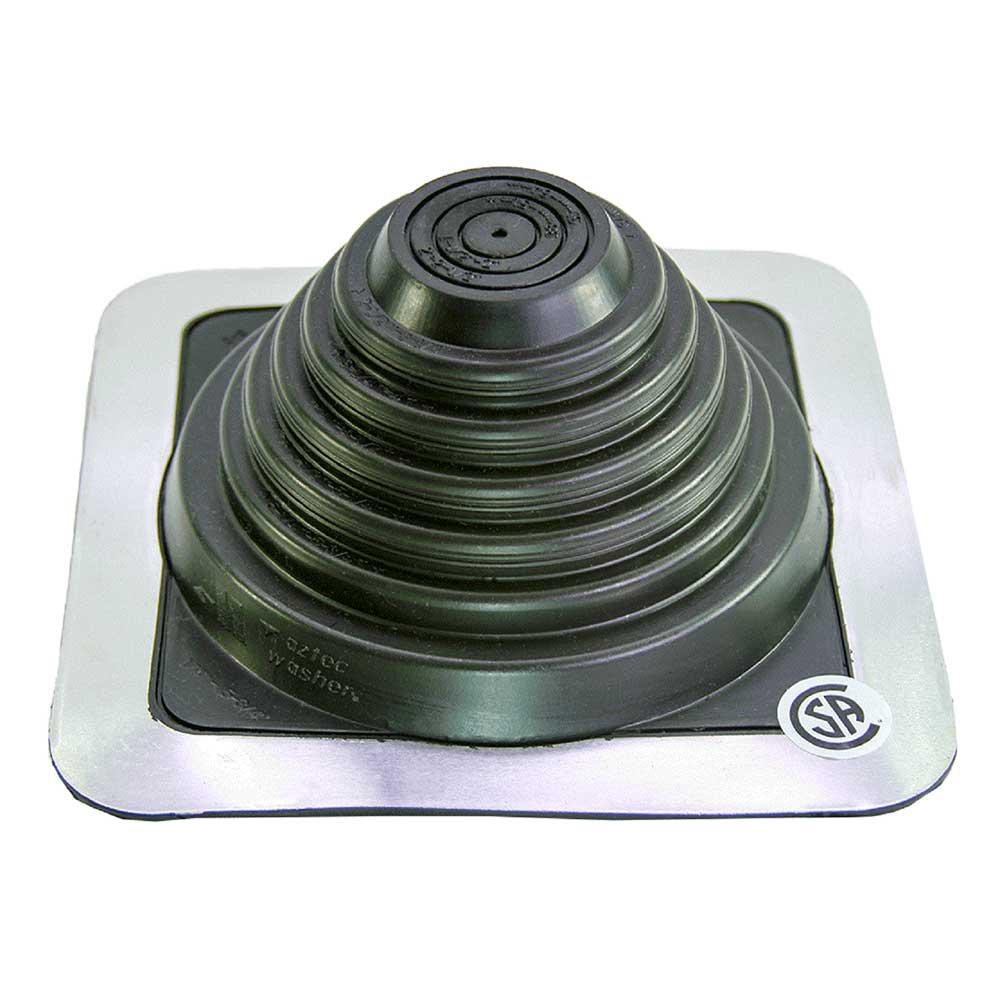
Dektite Black Metal Roof Vent Pipe Flashing At Menards
Gibraltar Building Products 1 4 In X 5 3 4 In Aluminum Base Vent Pipe Flashing With Adjustable Rubber Collar In Black 81840 The Home Depot
Traditional Plumbing Boots Are Not Cracked Up To Handle The Task Of Your New Roof Ncw Home Inspections Llc
Source : pinterest.com
