How To Install A Whirlybird On Tin Roof

How To Install A Whirlybird On A Metal Roof Youtube

Https Encrypted Tbn0 Gstatic Com Images Q Tbn 3aand9gcrv8wxsypnkpx489d0lc5kgktyfnijtxtpguq Usqp Cau

How To Install A Whirlybird On A Corrugated Roof The Expert
How To Install A Whirlybird Like A Pro Roof Ventilation Whirlybirds Australia

Roofing Companies In Cedar Rapids Iowa Whirlybird Roof Vent Installation

How To Install A Roof Whirlybird

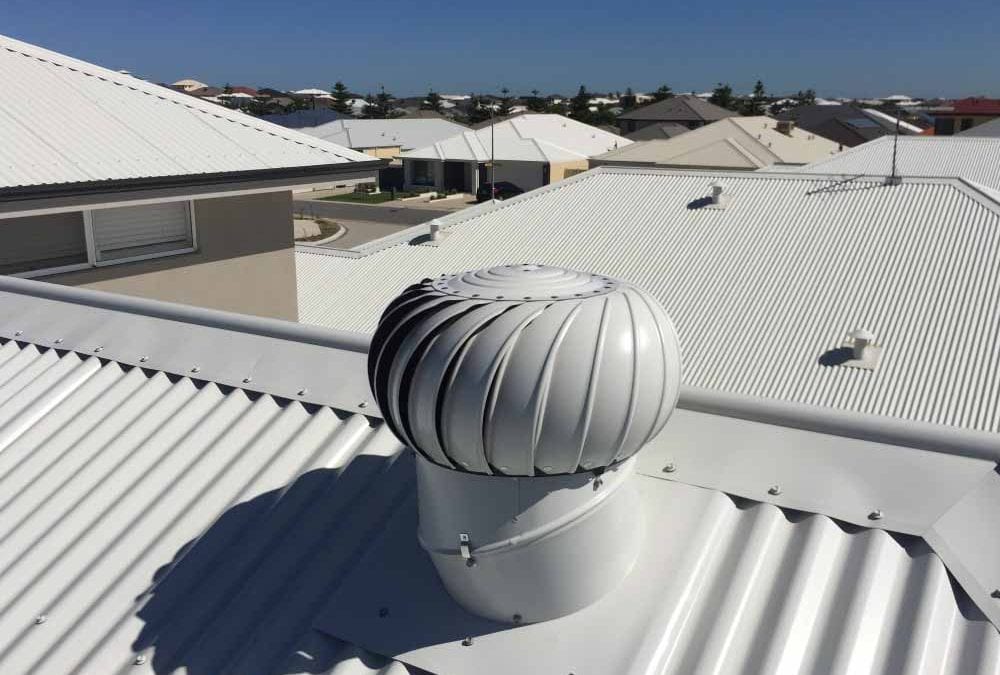
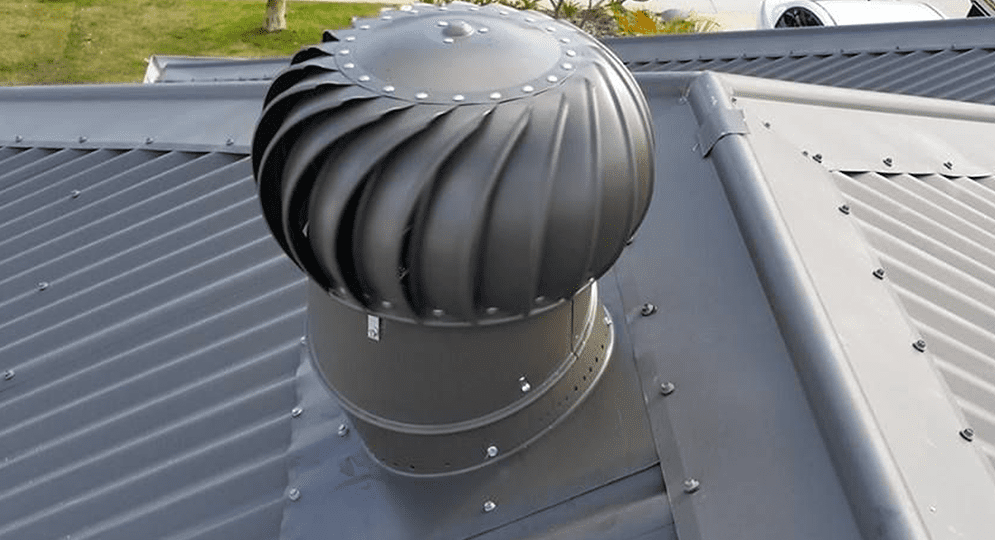
Installing some type of ventilation mechanism on a metal roof is not a lot different from the addition of vents to any type of roof.
How to install a whirlybird on tin roof.

How To Install A Whirlybird Roof Vent Diy Youtube

How To Install A Power Air Fan On A Metal Roof Youtube
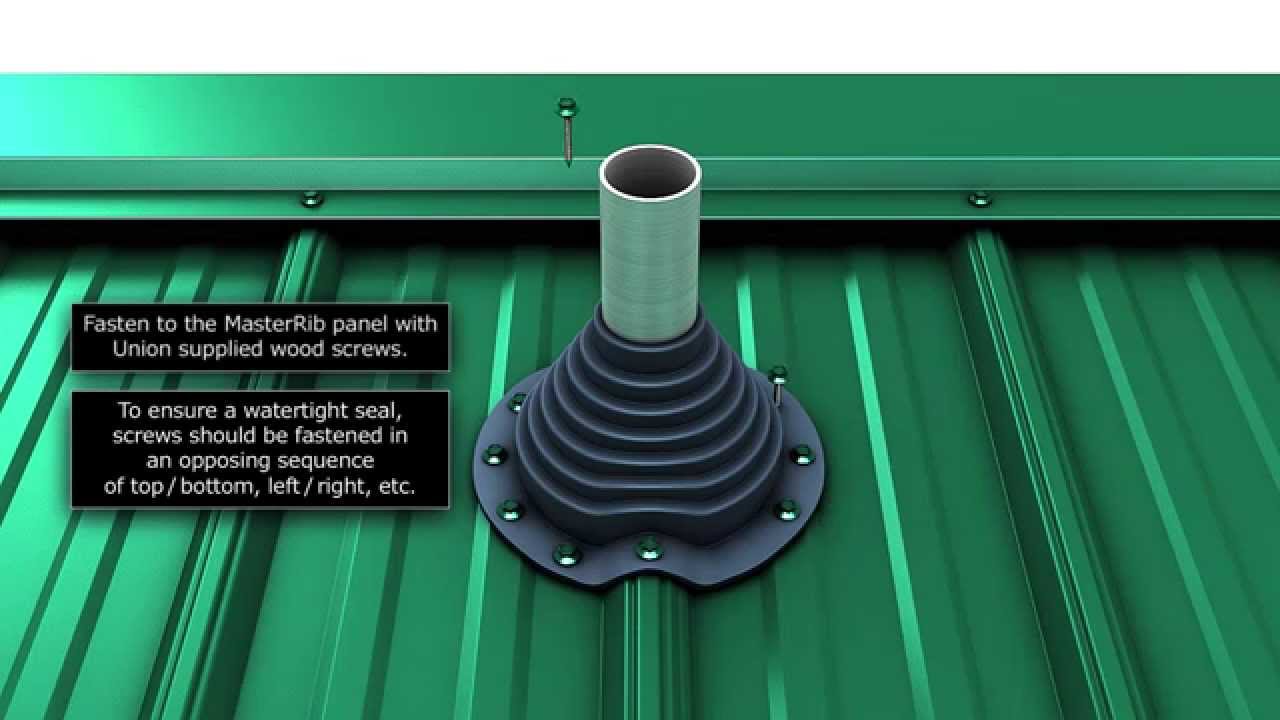
How To Install A Metal Roof Pipe Boot Youtube

How To Install A Whirlybird The Easy Quick Diy Guide
Does A Roof Whirlybird Work Looking For Better Ventilation

How To Install A Whirlybird Turbine Vent On Your Shed Roof Shed Plans Barns Sheds Gambrel Barn
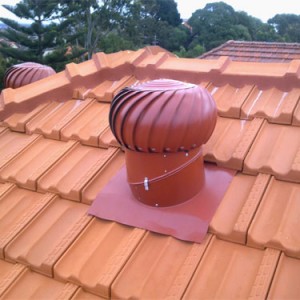
Whirlybird Installation Perth Tiled Metal Roof Whirlybird Install

It S Marvelous Explore These Top 10 Good Ideas All Pertaining To Roofreplacement Metal Roof Vents Metal Roof Roof Vents
How Many Whirlybirds Do I Need Roof Ventilation Whirlybirds Australia

How To Install A Lomanco Whirlybird Turbine Vent Add Ventilation Your Metal Roof Vents Roofing Diy Roof Vents

How To Install A Whirlybird Turbine Roof Vent On Your Shed Youtube Shed Blueprints Shed Building Plans Shed Plans

The Advantages And Disadvantages Of Whirlybirds

How To Vent A Shed Diy Step By Step Youtube
How To Install A Turbine Roof Vent Doityourself Com

Products Santa Cruz Innovations Container House Plans Shipping Container Shipping Container Buildings

Whirlybirds Sunshine Coast Roofing Services

The Importance Of Roof Ventilation In Your Home Strongguard
Ultimate Whirlybird Guide Why Solar Whiz Is Better
Https Encrypted Tbn0 Gstatic Com Images Q Tbn 3aand9gctbbt8q1p9ratg2ah7q Jqjghbo8ds3lhchgisqdy9kv6ryvv1s Usqp Cau

Pin On Fireplace Chimney

How To Install A Lomanco Whirlybird Turbine Vent Add Ventilation Your Roof S Attic Space Youtube Metal Roof Vents Roofing Diy Roof Vents

How Whirly Bird Ventilation Works Amazing Roof Restoration
Whirlybird Gold Coast Sales Installation Gc Roof Gutter
Do Whirlybirds Work Measuring The Effectiveness Of Whirlybirds Vertec
Source : pinterest.com
