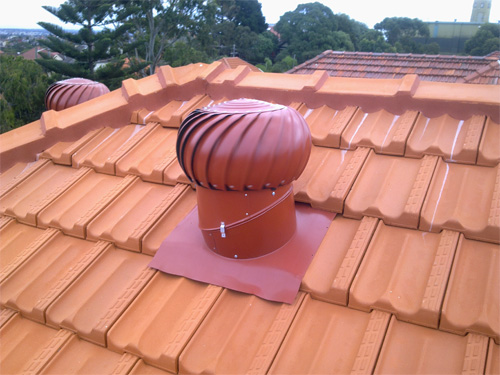
How To Install A Whirlybird On Tile Roof

How To Install A Whirlybird On A Metal Roof Youtube

How To Install A Roof Whirlybird
How To Install A Whirlybird Like A Pro Roof Ventilation Whirlybirds Australia

How To Install A Whirlybird The Easy Quick Diy Guide

How To Install A Whirlybird Roof Vent Diy Youtube
How To Install A Whirlybird On Tile Roof The Expert

If you are installing more than one whirlybird you must install them an even.
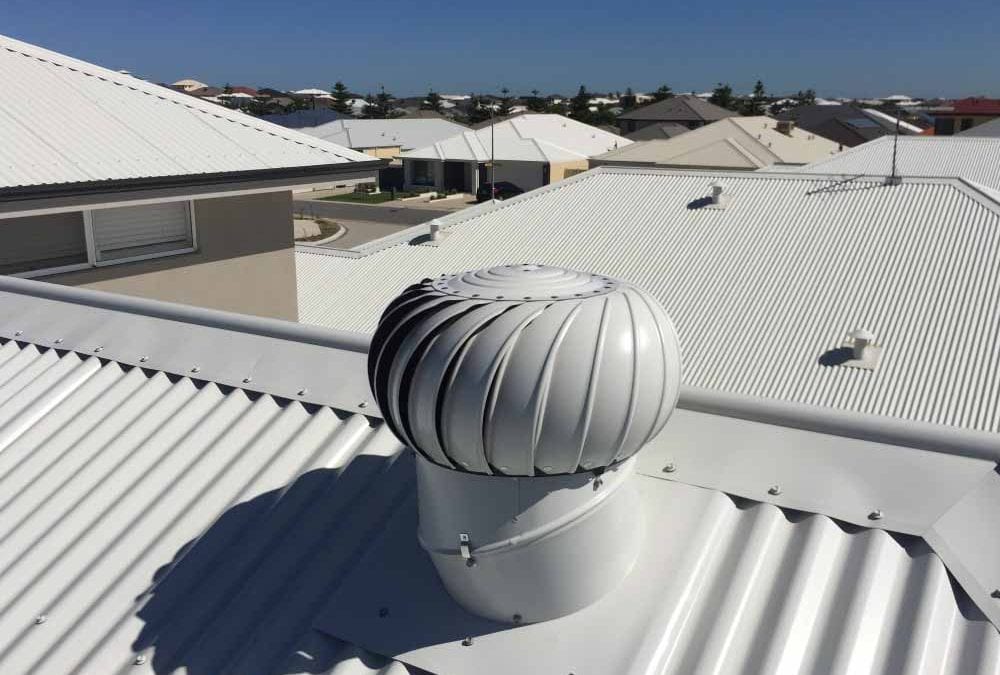
How to install a whirlybird on tile roof.

Elevateroofplumbing On Instagram Whirly Bird And Roof Installation In Warrnambool Check Out The Screw Lines Fro Roof Installation Roof Colors Colorbond Roof

Pin By Tony Thorne On Re Roofing Projects Sydney By Apt Roofing Roof Styles Metal Roof Roof Cost

Supavent Diy Installation On A Tiled Roof Youtube

The Whirlybird Ventilators Work A 24 Hour Shift But No Toxic Gases Or Chemicals Are Emitted As By Products W Attic Ventilation Ventilation System Ventilation

Common Types Roof Attic Vents Types Of Roof Vents Attic Vents Roof Vents

How Effective Are Whirly Birds At Cooling A Roof

Solarwhiz Roof Installation Solair Roof Installation Roof Solar Panel Solar Solutions
The Advantages And Disadvantages Of Whirlybirds

Dormer Vs Turbine Air Conditioner Heat Installation Insulation House Remodeling Decorating Construction Energy U Ridge Vent Hip Roof Home Insulation

Paramount Roofing Specialises In Residential And Factory Roofs Roofing Roof Repair Roof Solar Panel

Roof Repairs Roof Repair Roof Restoration Roofing

Repurpose An Old Roof Turbine Vent As A Light Fixture Vintage Light Fixtures Light Fixtures Glass Light Fixture

How To Install A Whirlybird Turbine Vent On Your Shed Roof Gambrel Barn Shed Roof Roof Vents

Roof Whirlybird In 2020 Roof Paint Roof Restoration Remodels And Restorations

How To Install Exterior Pvc Trim Episode 1 Master Carpenter John Spier Pvc Trim Roof Trim Pvc Roofing

Ridge Vents Ridge Vents Ridge Vent Diy Storage Shed Plans

Winterize Your Home In 7 Simple Steps Roof Repair Diy Roofing Roof Restoration

Changing Roofs Prides Itself On Being Experts In The Roofing Industry They Have The Skills Experience And Pro Roof Restoration Roofing Specialists Roof Repair
Https Encrypted Tbn0 Gstatic Com Images Q Tbn 3aand9gcqlnpebms85nh4bpt0fxlmj6menpnofmdpscxvkawukjojxspdt Usqp Cau

Whirlybird Roof Ventilation Do They Keep Your Home Cool

Pin On Instagram

Diy Solar Hot Air Panel Construction Guide Diy Solar Solar Roof Solar Panel

Whirlybird Installation Brisbane Jmz Roof Restorations Brisbane Gold Coast

Urbandale Ia Residence House Styles Outdoor Structures Architecture
Source : pinterest.com
